Physical Address
304 North Cardinal St.
Dorchester Center, MA 02124
Physical Address
304 North Cardinal St.
Dorchester Center, MA 02124
Want to learn how to create a Google Classroom, or to understand more about content creation in Google Classrooms? We have made a complete guide on the process of creating a complete Google classroom where you can interact with your students, as a teacher, or where you can interact with your fellow students.
In this article, you will also learn how to create a Google Classroom, give your students assignments, and grade them accordingly with no hassles. All you need to do is read this article to the end.
We envision that when future historians examine classroom evolution, they will see the introduction of Google Classroom as a critical turning point. After all, we cannot deny that Google has been a great harbinger of change in the modern world, especially in how we communicate and work.
Google is also changing the way we teach and learn. So we all agree that, despite its ingenuity and convenience, Google Classroom was inevitable. When you’re here, you will see the value of being a part of Google Classroom.

Based on the principle of productivity, Google Classroom is a practical and streamlined tool that teachers can create, and use to manage their lessons in one place. Teachers can create classes, assign homework, grade and comment on homework, and seamlessly set up and manage their teaching process.
Think of Google Classroom as a useful resource, not a full-service learning environment like Seesaw or Edpuzzle.
Read Also:15 Google Meet Ideas For Teachers
Whether you are a public school teacher or a private teacher, you must have a Google Account to access Google Classroom on your laptop/desktop or from a browser. As long as you’re using G-Suite for Education or have a personal Google Account, that’s fine. You can also download the Google Classroom app for your Android or iOS device to manage your classes from other devices.
To create a Google Classroom, you first need to create your Google Classroom account. Here’s how to do it.
To sign in to the Classroom, go to Classroom.google.com. If you’re already signed into your Google Account, you will be taken straight to the Classroom page.
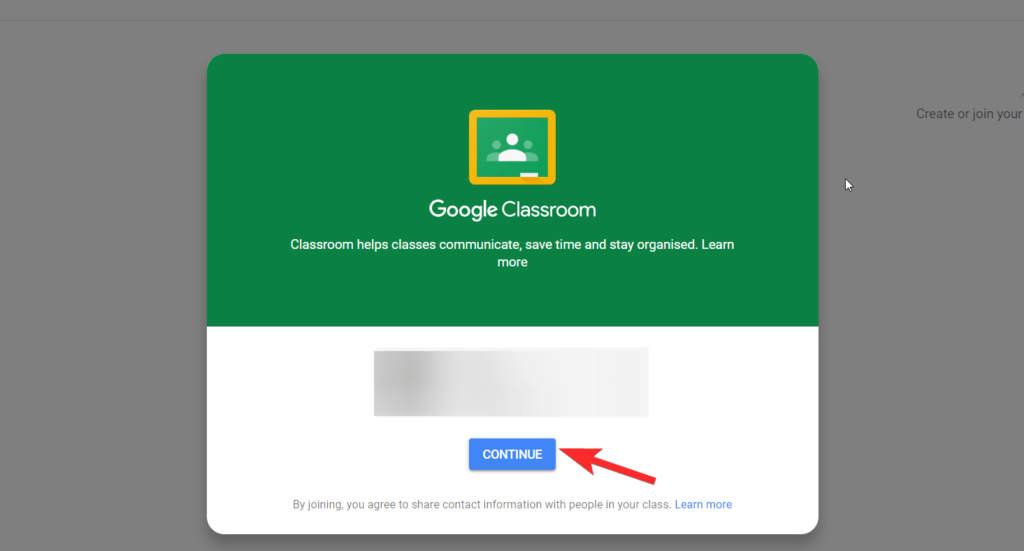
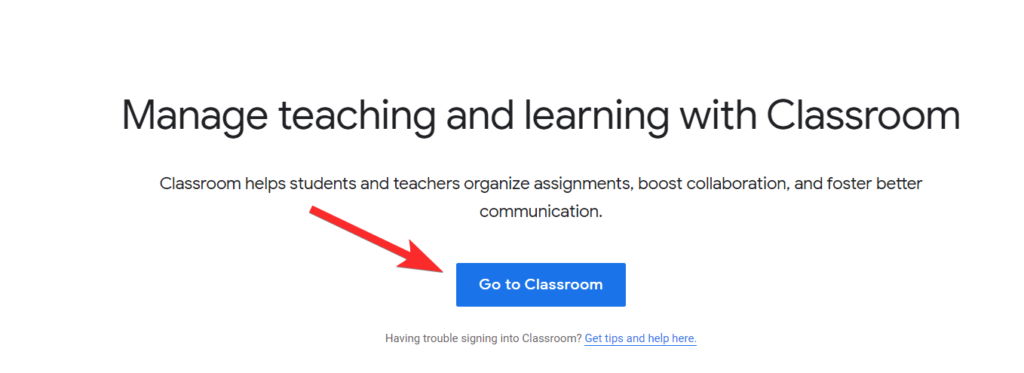
If you don’t see this page, it means you have been redirected to this page from edu.google.com. Don’t worry, just click Go to Class from here.
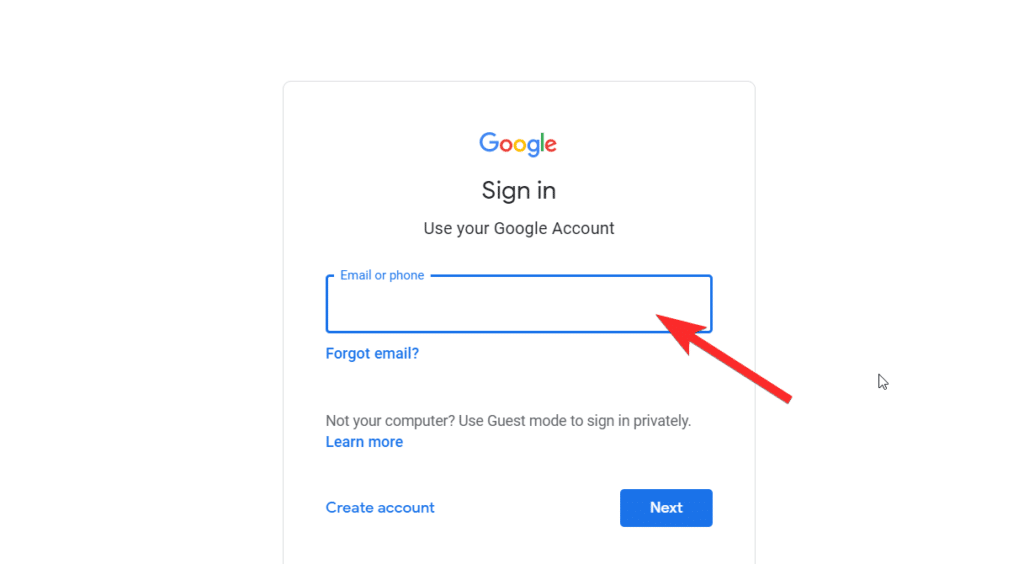
You will now be asked to sign in to your Google account.
After signing in, you’ll see the same Google Classroom page shown above.
Excellent! Now that you’re inside, you’re ready to create a Google class in Google Classroom.
Read Also: How to use Google Meet in Google Classroom
You communicate directly with your students in the Classroom. Once you’ve learned the mechanics, you can create different classes based on your level and section. We’ll show you how to create a class, and you can use the same tutorial to do more.
You will see another icon in the top right corner of the screen. You have to click this symbol every time you want to create a new Google classroom. It’s always there on your class page. Google may have already set up a message to encourage you to click the icon. However, in case you don’t see it, the icon looks like this.

Now click on the icon and select Create Class.

Now, if you use a personal Google Account instead of your school’s G-Suite account, you will see this disclaimer. Please accept it and click Next.
We are now in the real part where you will create the Google Classroom. Enter the class’s details, including name (required), section, subject, and class number (optional). When you have entered the details, click Create.
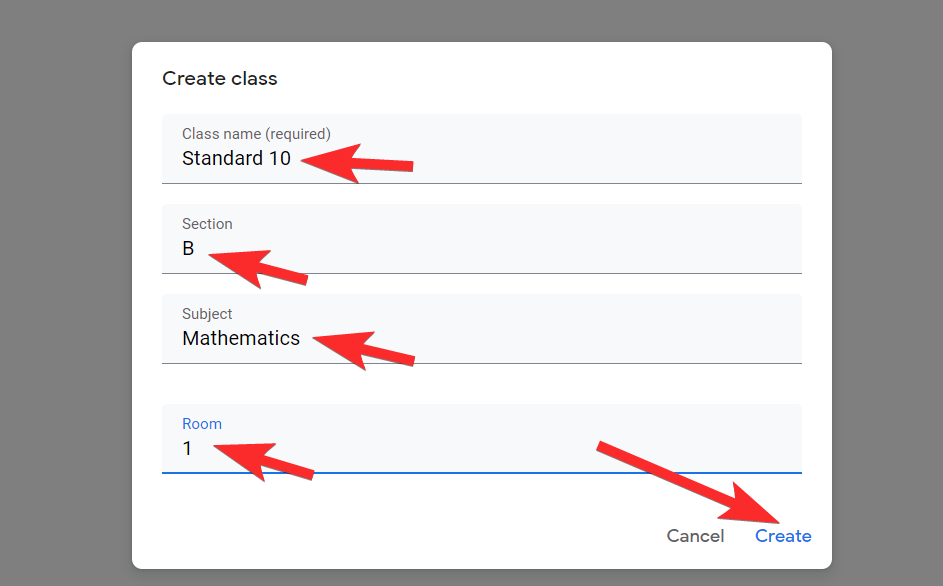
Tip: Although the section, subject, and room number are optional, you can customize them to suit your needs. For example, the section can be useful for entering a brief description of your class, grade level, or lesson time. You can also describe your subject or choose from a list provided by Google.
Excellent! You have created your first Google class. When you have completed all of the steps, you will now see your class page.
Read Also: How to Fix Google Classroom Stream Disappeared Problem
Once you create your Google Classroom, you can define a theme for it. You will see two options in the corner of the cover photo: select a subject and upload photos.
If you’d like to design a cover or have already designed one, click the Upload Photo option. You will now be asked to select an image from your computer.
Select an image and upload it. Once you’ve done this, you’ll need to choose and cut out a specific piece based on the cover photo’s dimensions. If you do not want to crop the image, please make it 1000 x 250 pixels so that no cropping is required. When you’re done, click select class theme.
Or … you can choose an archived topic that is already available. To do this, click on the Select topic. Click a topic that you like, then click select class theme.
Now that you’re happy with the way your class looks, it’s time to add students.
So far, you’ve looked at the stream section in your Google Classroom. It’s time to switch to another tab. There are four tabs at the top of the screen: Stream, Classwork, People, and Marks. Click the People tab.

On the People page, you will see two sections: inviting other teachers and inviting students. In the Student area, you will see a profile icon; click on it.

A window will ask you to add students. Enter their email credentials in the recipient field and click Invite.
If you want to skip the invite process and have a different means of communication, you can also use the class code. Copy it from the Stream tab and share it directly.

Here! Students can now join your class and take their courses. You can start assigning class assignments to your students and adding content to your class stream that your students can reference.
Read Also: How to get Bitmoji in Google Classroom
The Classwork tab is used for content creation. There are three main parts to creating content on the Classwork site: Create, Google Calendar, and the Class Drive folder.

The Create button gives you the formats with which you can configure your content in the Google Classroom.
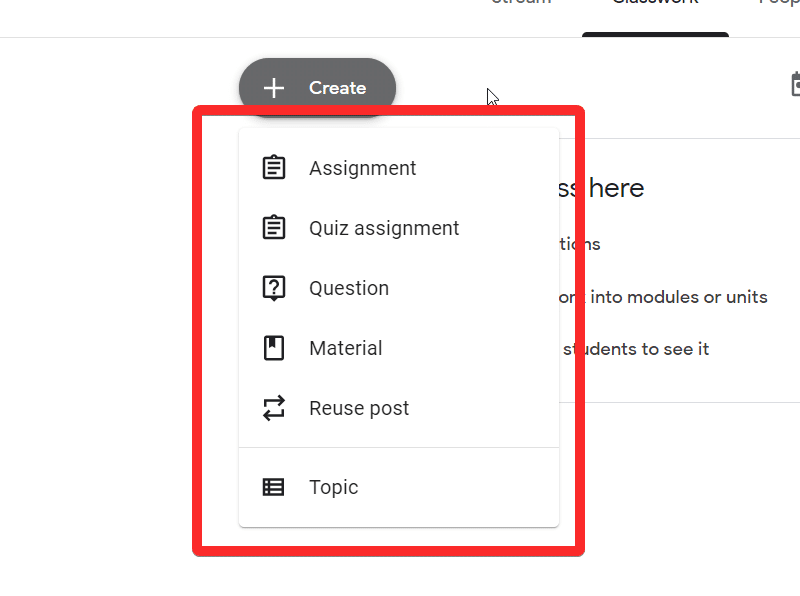
The Homework option allows you to assign general exercises to your class. Pretty much anything that can be set up in Google Drive using documents, slides, spreadsheets, etc., can be specified in card format.
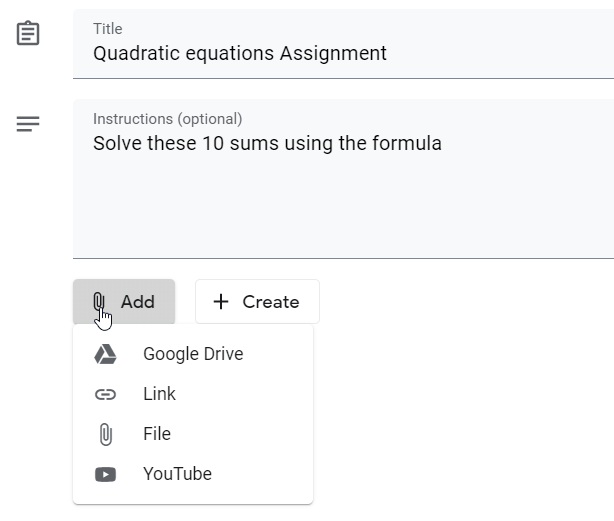
On the right side of the assignment creation page, you can set the due date, grading system, and select the group of students you want to assign the assignment to.
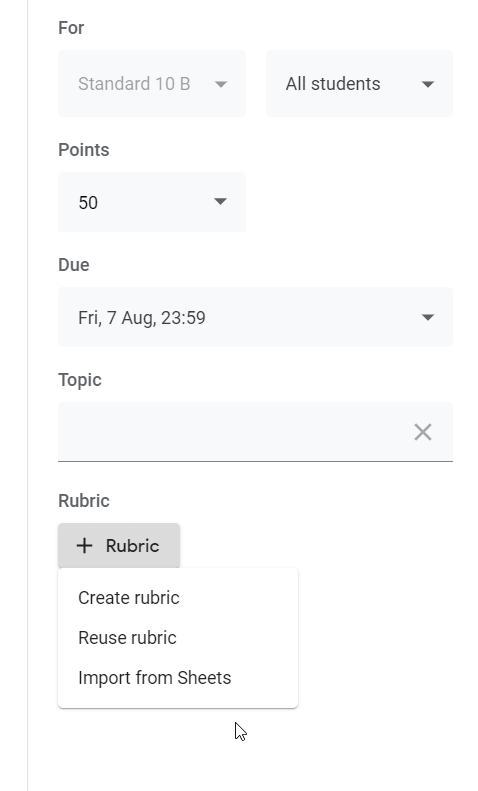
When you’re ok, click Assign. This is shown in the top right of the page.
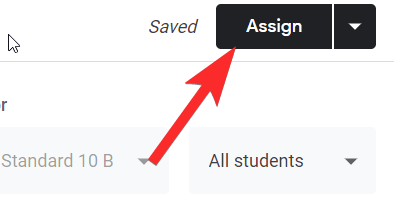
For quiz assignments, Google provides a special Google quiz form to create quizzes and multiple-choice questions. This also makes your life easier as Google will keep a log of all the answers, and you can easily rate them.

As with the assignment, assign the due date and other details before clicking the Assign button.
Now imagine a situation in a real classroom where you would ask the students a question to start a discussion. The question is a digital equivalent of something like that. Once you’ve created a question, you can open it for the class to comment on and start a discussion.
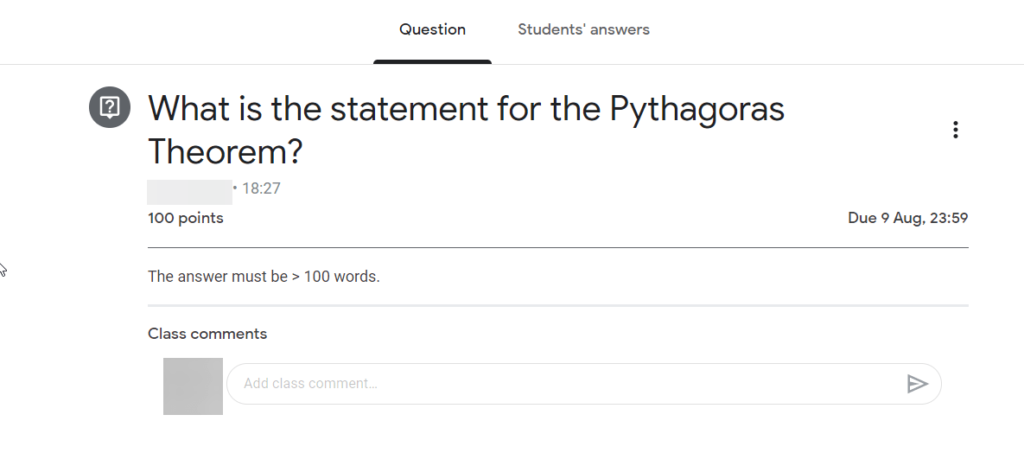
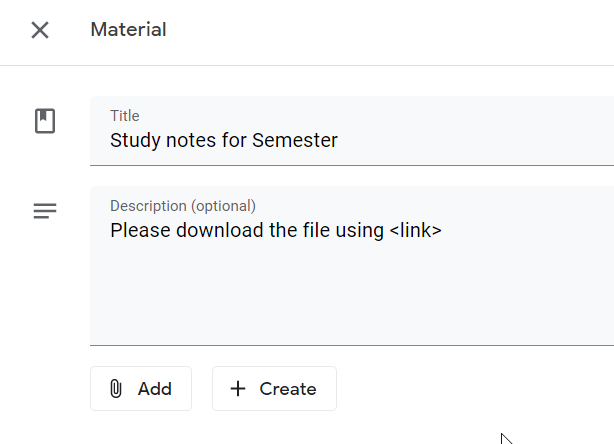
Pretty easy to spot. Material is a category of lecture notes or material that you want to share with your students.
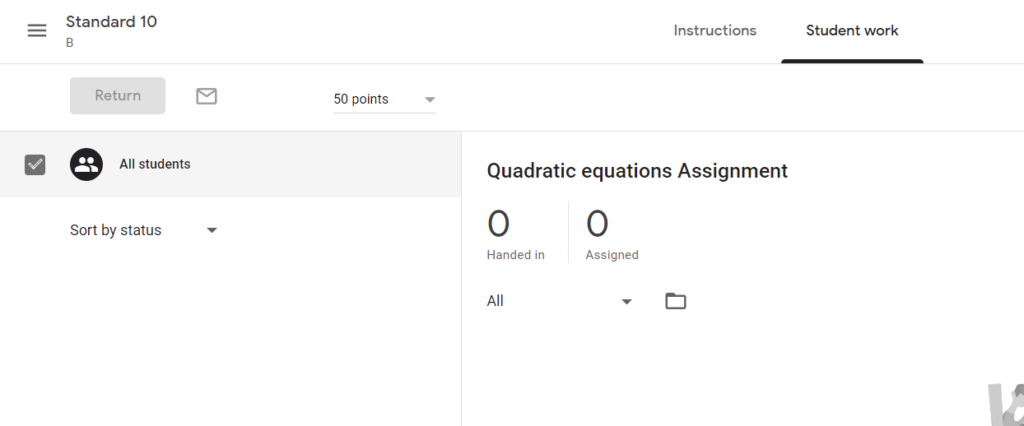
For all grading-related activities that give grades, Google Classroom adds a tab called Student Work next to the main assignment. This section is where you can check whether a student has submitted their paper or not.
Of course, to create an excellent Google classroom, you need to use of your saved formats, it will be a chore for you to create tasks from scratch, especially if you have a fixed format. This is where the reuse function comes into play. Just click on the task that you want to replicate and then click on Reuse.

You can then edit and reset the assignment content to access the Google Classroom stream when you click on post.
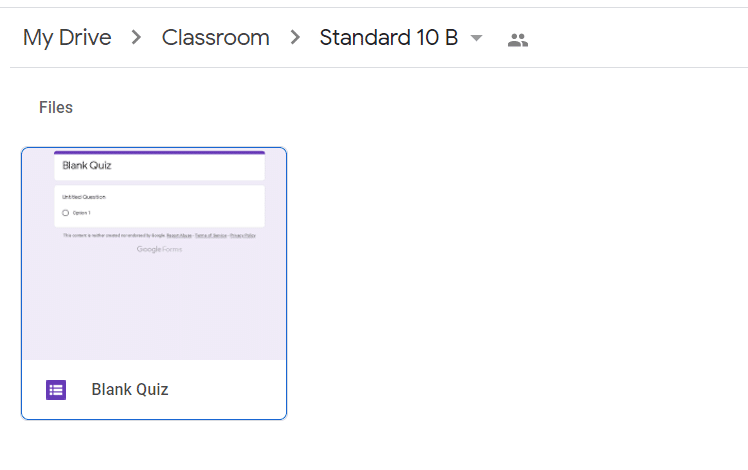
Google automatically displays all of the content you create and save for a class in the folder specific to that class. Your students will also have access to this folder.
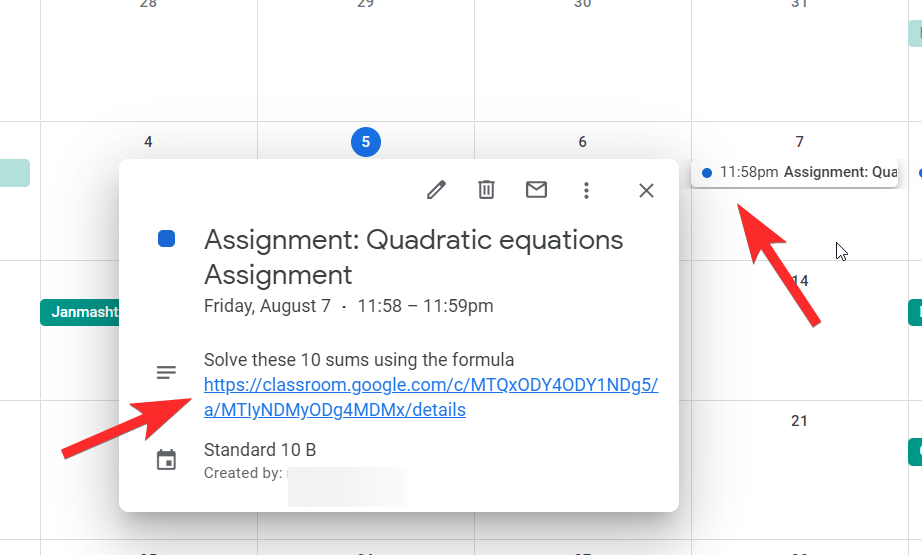
Google Calendar keeps a tab with the due dates for all the assignments you assign. You will also be notified by the calendar when a deadline is closed or has expired. This is how your homework is shown on the calendar.

Google Classroom is a practical and streamlined tool that teachers can create, and use to manage their lessons in one place. Teachers can create classes, assign homework, grade and comment on homework, and seamlessly set up and manage their teaching process.
Fellow these simple steps to create a Google Meet link:
Go to the Google Classroom dashboard of the class you want to add Google Meet to, click on the “Settings” icon at the top right corner, and scroll down to the “General” section to find the “Meet” option. Then, click on “Generate Meet Link” to create a unique link for your class, and toggle on “Visible to student” if you want your students to see the generated link. After that, click on “Save” to save your changes.
The Google Meet link will appear on the Stream page at the top and on the Classwork page in the header. Students just have to click the link to join the video meeting.
Yes, you can. As long as you are a student or teacher who is part of the Google Classroom. You can use Host control in Google Meet to manage participants –you will be able to turn off chats, prevent students from re-joining after the host leaves, and you can also mute participants.
Yes, you can. Go to Google Calendar, create an event, add the Google Meet link to the event, and invite students by sharing the Calendar event or attaching it to a post in Classroom.