Physical Address
304 North Cardinal St.
Dorchester Center, MA 02124
Physical Address
304 North Cardinal St.
Dorchester Center, MA 02124

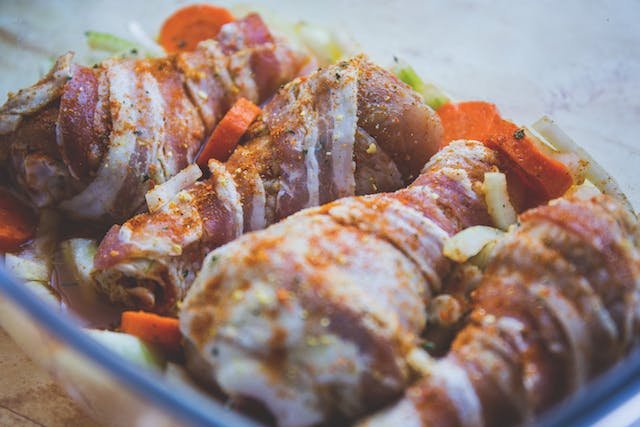
If you get chicken from the store, a butcher, or a nearby farm, it might be hard to find certain boneless cuts. Knowing how to take the bones out of a whole chicken is important. This skill can be useful when you cook, and it’s good to have in your cooking abilities. In this article, we will look into how to debone a chicken and other things you need to know.
Learning to debone a chicken is not too difficult, and it can save you time and money. Plus, you can use the bones to make tasty broth or soup. So, whether you want boneless chicken for a specific recipe or just find it more convenient, mastering the art of deboning a whole chicken is a handy skill to have. You can then enjoy cooking with boneless chicken without relying on pre-packaged cuts.
Deboning chicken is a cost-effective way to enjoy the benefits of whole chickens, which are usually less expensive per pound compared to prepacked parts. By deboning the chicken yourself, you not only save money but also gain the advantage of keeping the bones for making flavorful chicken stock to enhance your homemade soup.
Home cooks find deboning essential because grocery stores often don’t offer boneless, skin-on chicken thighs and breasts. These cuts are crucial for preparing dishes like taquitos, tacos, marsala, teriyaki chicken, pot pie, and other favourite chicken recipes. Learning the skill of deboning at home opens up a variety of culinary possibilities and allows you to customize your chicken cuts based on your preferences.
Furthermore, the simple process of deboning chicken empowers you to save money, create delicious homemade dishes, and elevate the flavour of your soups with homemade chicken stock.
Also Read: Sourdough Pita Bread Recipe
Deboning a chicken can be an enjoyable and educational task for those venturing into the world of home cooking. Not only does it offer a fun challenge, but it also provides an excellent opportunity to hone essential knife skills and learn proper meat-handling techniques in your own kitchen. If you’re ready to take on this culinary adventure, here’s a straightforward step-by-step guide to help you through the process.
To begin, gather the necessary tools for the job. You’ll require a sharp chef’s knife or boning knife, a meat cleaver for handling larger pieces, and a paring knife for more delicate cuts. Poultry shears will come in handy for navigating joints and skin. Ensure you have a sturdy cutting board large enough to accommodate the entire chicken and its juices.
Before diving into the deboning process, take a moment to prepare your workspace. Place a damp dish towel or paper towel under the cutting board to prevent any slipping while you work.
Start by reaching inside the raw chicken and removing the liver, gizzards, heart, and neck if present. You can either discard these parts or set them aside for another use.
Locate the joint between the wingtip and the flat of the wing. Using a sharp knife, cut off the wingtip, and repeat the process on the other side.
With the chicken breast side up and the neck facing you, lift the neck skin and use your fingers to locate the wishbone. Make slits on each side of the wishbone, following its contour with your knife until you reach the shoulder. Use your fingers to pull the wishbone out.
Flip the chicken breast side down and make a cut down the center of the backbone, moving from head to tail. Separate the meat from the bone on both sides, stopping when you reach the leg and wing joints.
Using poultry shears or your knife, cut through each wing and leg joint to separate them from the backbone, breastbone, and rib cage.
Also Read: A Comprehensive Guide to Indian Cuisine
Continue cutting around the rib cage, staying as close to the bone as possible. As you work, the breast meat will become loose from the cage. Remove the rib cage and backbone to complete the separation of the breast meat.
Working from inside the chicken, cut into the thigh meat and carefully scrape it down and away from the side of the bone until you reach the drumstick. Detach the thigh bone from the drumstick and repeat the process for the other thigh.
Conclude by cutting off each wing at the second joint and removing the bottom inch of each drumstick with your meat cleaver. If desired, you can continue breaking down the bird into smaller parts, such as boneless thighs and skinless chicken breasts.
With the deboning complete, you now have a whole boneless chicken ready for various culinary adventures. Leave it as-is for boudin-stuffed roast chicken, turducken, or another stuffed poultry dish. Alternatively, use the deboned chicken to whip up stir-fry, air-fried chicken wings, crispy fried chicken, or any other favourite chicken recipes you have in mind. The possibilities are endless once you’ve mastered the art of deboning chicken at home.